Instructions

| |
For Your Personal Evaluation
With your iPhone, you can take a selfie,
(the image sensor does not have an infrared filter on the selfie camera).

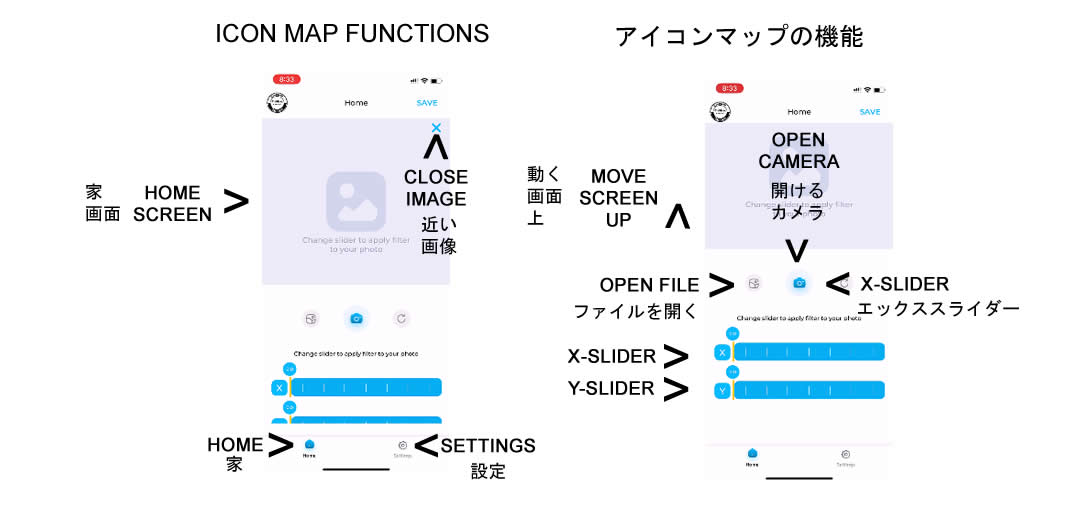
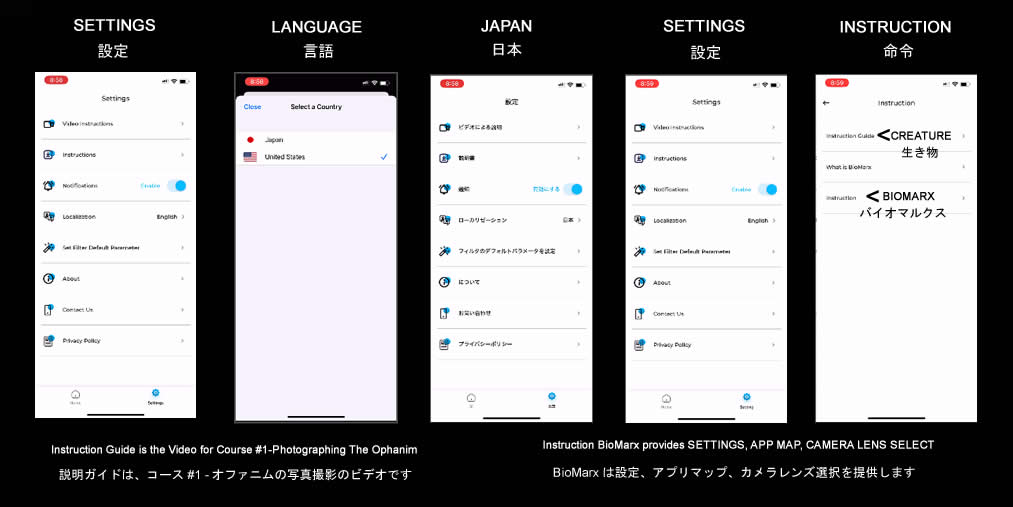
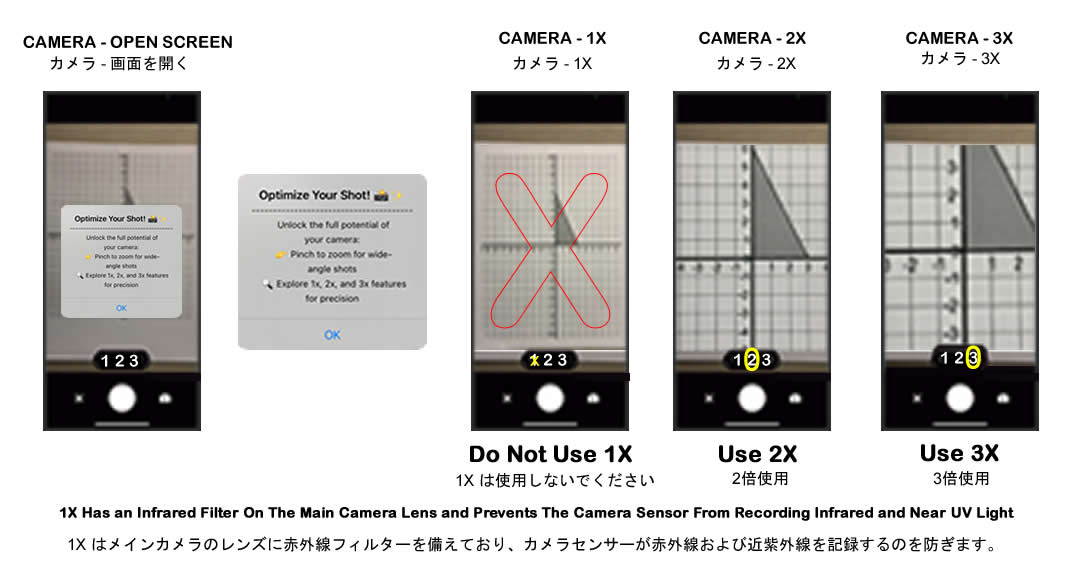
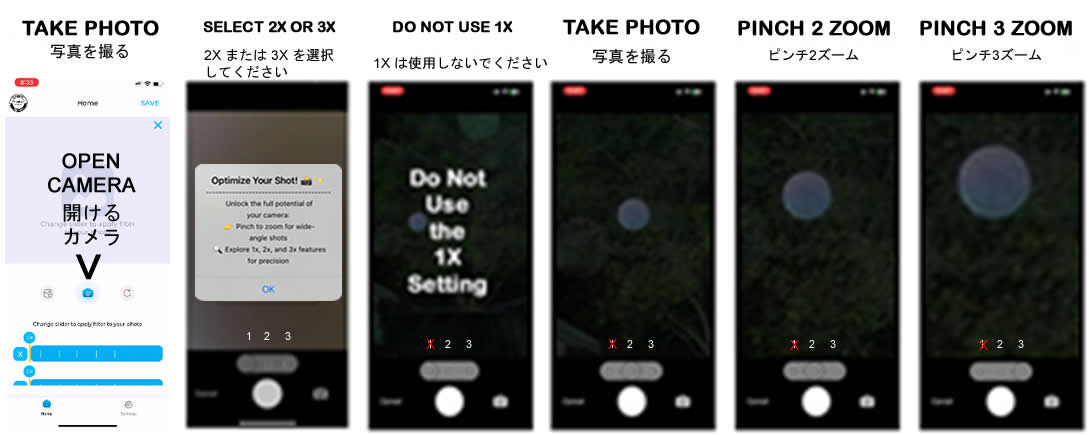
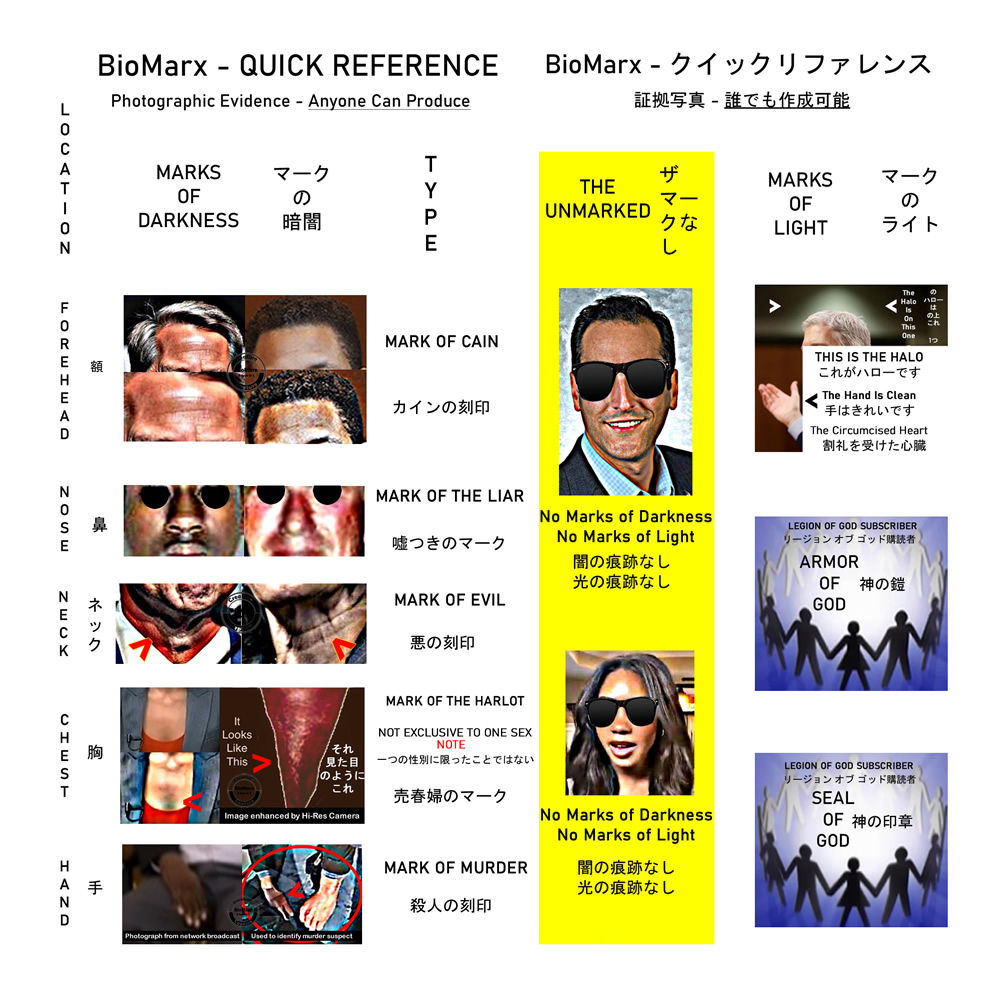

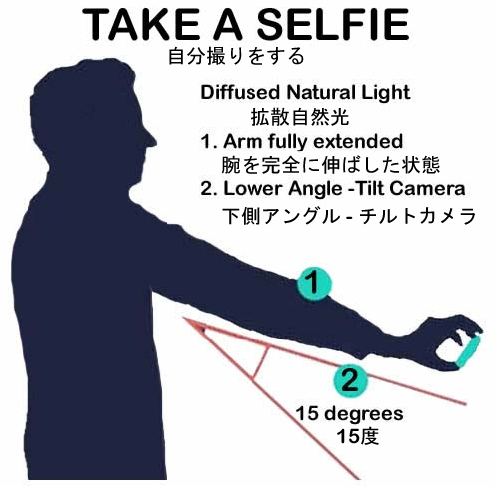
 "how to remove the sting of death". This and other information of the project is scheduled for updates in the last quarter of 2024.
個人的な評価について
iPhoneを使えば自撮りもできるし、ベストプラクティス
開始点としてベースラインの写真を撮ります。研究参加者であれば、基準点が得られます。
1. 自然光を使用した室内画像 (顔、首、胸の影をできるだけ減らすように努めてください)。
2. まぶしさや影を(可能な限り)軽減した屋外画像。
3. ファイルから自分の顔の写真を使用します
(これは、マークがいつ表示されたかを追跡するのにも便利です)。
注: ハロゲン、LED、OLED、および一部の蛍光灯の下で撮影された写真は、
虹色のシミュレーションを引き起こし、写真に取り込まれる可能性があります。
強度と強化 - 調整スライダー 選択した写真で X スライダー調整を使用し、顔、首、
胸、または手の色に変化があるかどうかを表示するように調整します。
写真の Y スライダー調整を使用して、観察された色合いを強調します。 参照ポイントとして、
または共有するために写真を保存します。
写真の評価 Creature Capture
アプリケーションで処理した後に写真に表示される色は、対称的な形状に一致している必要があります
(たとえば、額のマークはこめかみからこめかみまで離れていません。
これは、額のマークが額縁まで盛り上がらない長方形の形に限定されているためです)。
髪の生え際で、エッジはその下の目の虹彩の端の手前で止まります。
注: 次のような要素を考慮してください。身体的疾患(皮膚など)、薬剤の使用は皮膚(肉真皮層)
に影響を与える可能性があるため考慮する必要があり、これらの症状の一部は写真に記録されます。

| |
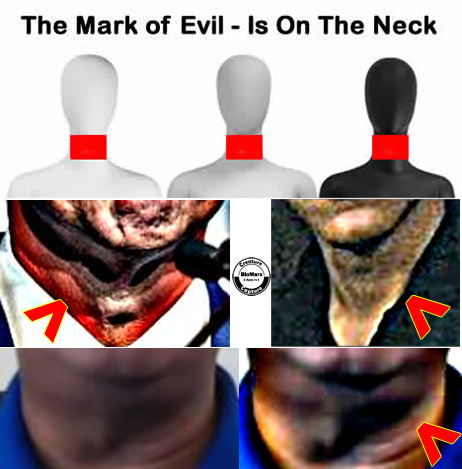
The Mark of Evil is the mark referenced in antiquity, and it is recognized as the one that goes out, and returns with 7 more worse than itself.
Use the BioMarx+Creature Capture Application to process
any photograph, and by adjusting the sliders, it will reveal if the Mark of Evil is on the neck.
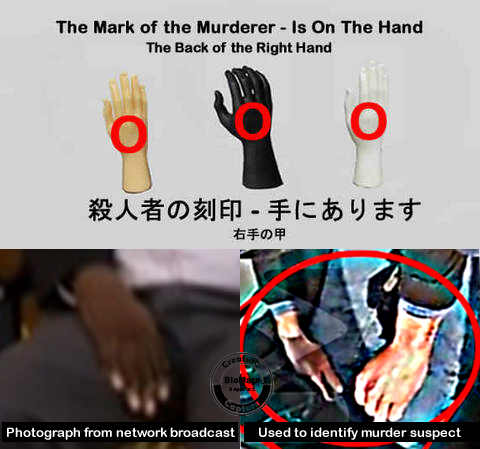
The Mark of the Murderer is a mark referenced from ancient time, and spoken of in the present. It was known in the ancient past that one could look and see if evil was in the hand.
Use the BioMarx+Creature Capture Application to process the photograph you take, and it will process the image to reveal.
殺人者の刻印は古代から参照され、現在でも語られている刻印です。古代には、悪が手にあるかどうかを見て確認できることが知られていました。 BioMarx+Creature Capture アプリケーションを使用して、撮影した写真を処理すると、画像が処理されて表示されます。
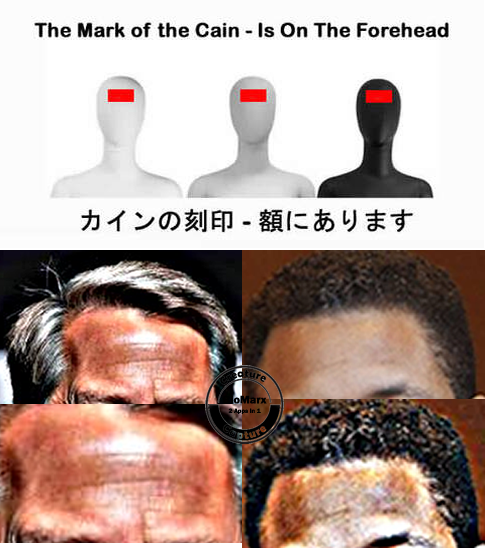
The Mark of Cain is known around the world, and is on the forehead. It is symmetrical and does not go temple to temple.
A mark known around the world.
It is a mark known worldwide, and your photograph will reveal if you have an ancient heritage.